


—by Mike Lewis
The last pedal rod guide you will ever need.
(Note: To see Mike’s hands-on how-to video, scroll to the end of the article.)
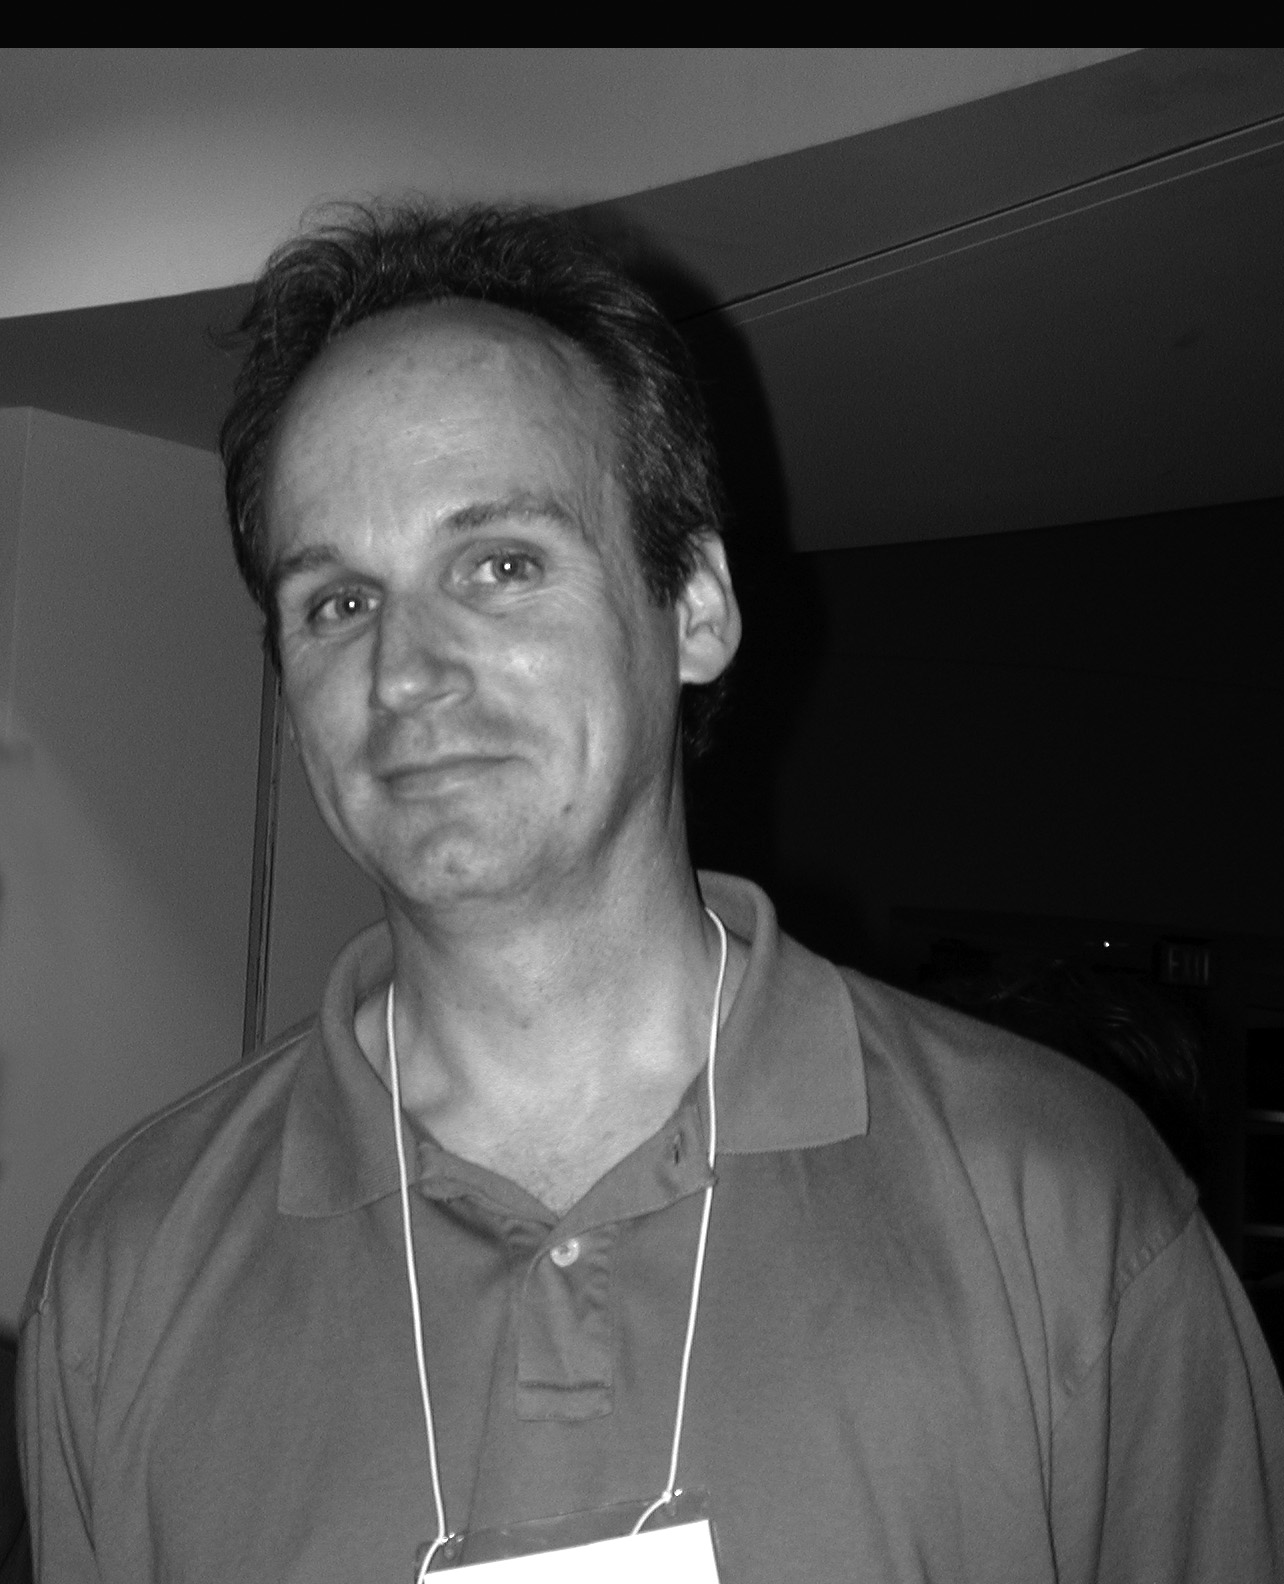
Mike Lewis is a San Francisco-based harp technician and owner of HarpTech
Imagine you are driving home from a gig down an old country road and your car and cell phone mysteriously die. A bright light envelops you, and, before you know it, you are sitting behind your harp ready to play on what appears to be an alien spacecraft. The head space alien has Pachelbel’s Canon in D all cued up on your music stand. She is motioning you to play. Who are you to refuse?
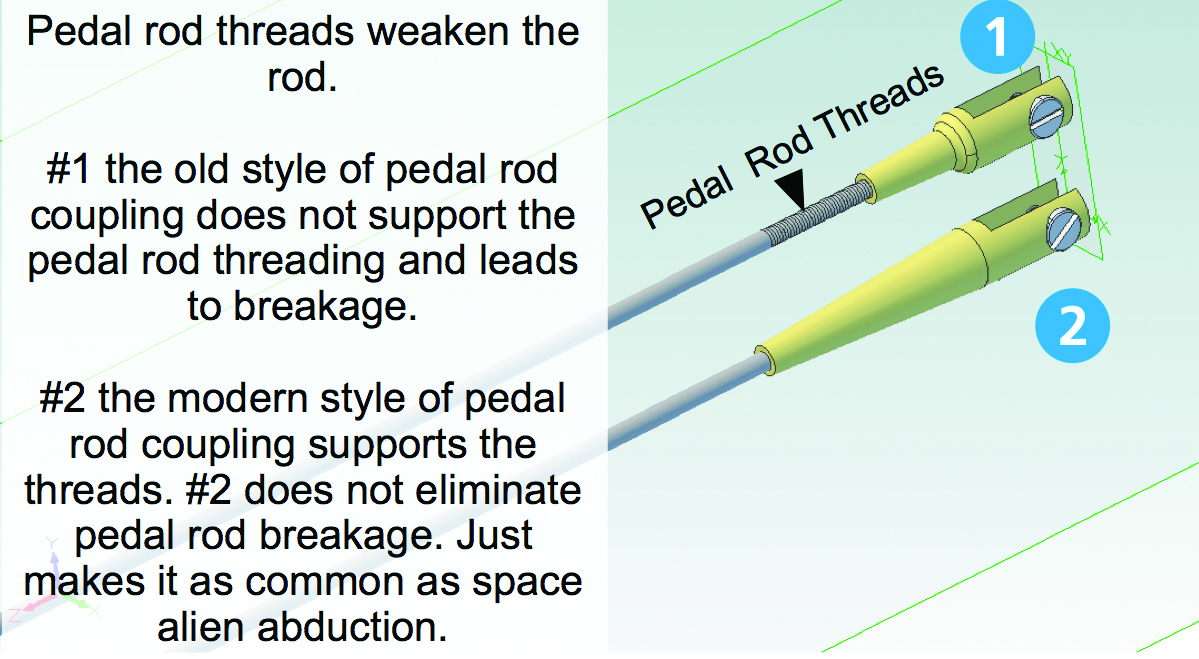
You slip your C pedal into sharp and “pop!” goes the C pedal rod. It is broken. Three things run through your mind almost simultaneously: 1. “Will this now end like other space alien abductions, where they drag me on to the medical exam?” 2. “Why didn’t you upgrade your pedal rods and couplings like your harp technician suggested?” (See photo below) 3. “Did these space aliens remember to bring my back-up set of pedal rods that I always carry to gigs?” Ah, yes, they remembered your back-up set. Please allow me to give you some printed instructions you can carry with your back-up set of pedal rods.
[pullquote]
Tools You’ll Need:
• pedal rod (duh)
• needle nose vise grip
• forceps
• screw driver (maybe)
• head-lamp flashlight (battery-powered music stand light will work)
• work area (Yes, a work area is a tool—you will not be able to do the job without one.)
• tuning key
• safety glasses
• someone to help
[/pullquote]
The Prelude
The base of your harp must be raised to a nice working height if at all possible. You have several good options, including your harp transport vehicle (weather permitting); a bed; three chairs spread out in a triangle with the harp lying flat with the top of the column on one chair, the knee block on another, and the lower part of the body on the last chair; two padded piano benches; and the floor with extra padding under the lower side of the body so that the base of the harp is raised. Before you begin, put on your safety glasses.
[protection_text]
The Process
To get started, you’ll need to access the pedal rods at the top of your harp and place your harp into position.
1. Before laying your harp down, remove the column block and the column felt. Be sure to put the column block screws in a safe place so they don’t wander off.
2. Place your harp into your work area.
3. Remove the base of your harp.
• Place the D pedal into the natural position and all other pedals into the flat position.
• Using your tuning key, unscrew your base bolts counterclockwise but do not remove them from the base itself. The length of the base bolts are not all the same, so you want to keep track of which position each one belongs in.
• Place your right hand on the inside lip of the base and return your D pedal to the flat position. Your harp’s base should now come off in your hand as you pull it away.
• Lay your harp’s base in a safe place, top down, as to keep the base bolts from falling out and the base itself out of harm’s way.
(Click to enlarge.)
4. With the needle nose vise grips in hand, remove the pedal springs from the pedal bar of the broken rod, as well as the surrounding pedal bars, to get a clear shot at the broken pedal rod. After the needle nose vise grip is attached to the pedal spring, I like to push in and twist the spring to ease the release from the pedal spring stud. (Please don’t beat yourself up if you don’t get this step right the first time.) Also unscrew the couplings that connect the pedal rods to the pedal bars. For example, if the F pedal rod is broken, you may find it easier to work if you move the E and G pedal bars out of the way. If the C pedal rod is broken, you will want to move the E, F, G, and A pedal bars out of the way to get to it. Do not lose or interchange the pedal coupling screws. As soon as you remove the pedal bar from the coupling, screw the screw all the way back into the empty coupling.
5. Remove your diaper (your harp’s). Place it in a safe place; your harp will not work without it.
6. Grab the end of the broken pedal rod with your needle nose vise grip and unscrew counterclockwise. This will be about 30-40 revolutions or more. Pull the broken pedal rod out of your harp and lay it in a safe area. Save the coupling screw of the broken pedal rod. You may need to use it instead of the new coupling screw that was sent with your new pedal rod. Why? The new screw may be too big for the hole in the pedal bar.
Size Matters
7. Lay your old rod next to your new rod. Match the bottom of the top threads to each other rather than the top of the top threads. Why? You are going to screw the top threads all the way into the main action coupling at the top. The bottom of the top threads will most likely be what stops you from screwing in more.
8. Remove the screw from the new coupling and put it in a safe place just in case you have to use it. Match the screw holes in the pedal rod coupling. Lay the two broken pieces end to end as close as possible, beside the new pedal rod. Turn the coupling on the new pedal rod until the screw hole in the coupling matches up. Having someone hold the other end of the rods and make sure the bottom of the top threads stay matched up is helpful. Be careful handling the new coupling as the pedal bar slot may have a sharp edge. I have cut myself.
9. Once you’re done driving yourself crazy fussing over the length of the new pedal rod, stick it in. This is where the head-lamp flashlight will help. You need to place the pedal rod back into the correct tubing in your harp’s tubing assembly. It will be easy to distinguish from the others as it should be the only empty one.
Time to Talk
10. You will need to talk to your assistant a lot in this next step. One of you will be at the bottom of the harp with the bottom of the new pedal rod pushing and screwing, and the other will be at the top of the harp guiding, lifting, and ensuring that the mating process goes well. Patience and communication is key, as you can really mess things up at this stage.
• Place the needle nose vise grip on the new pedal rod just above the new pedal rod coupling.
• Push the new pedal rod in until the person on the top sees the tip of the new pedal rod. If you pushed it in too far in step 9, you may have to pull it out first for the person at the top to see the tip.
• Now the person at the top needs to grab the new pedal rod below the threads with the forceps and guide the tip into the main action pedal rod coupling. Once mated, the top person can lift the rod so the rod and the coupling are co-planar. (Tip: The person with forceps calls the shots. “In more, no, out more, slow, in an eighth of an inch, stop, okay.”)
• Screw in the rod. If you get resistance in the first few revolutions it means you are cross-threading—not a good thing. Unscrew it and try again. You will find that if the person at the top wiggles the rod just a little bit as you start turning, the mating process will go more smoothly. The person at the bottom should gently push in during the first few revolutions and then gently pull back. After about 10 revolutions or so, the person at the top can let go of the pedal rod.
• The new pedal rod will eventually run out of threading. When it feels gently snug, you’re finished.
Full Reverse
11. Place all the pedal bars you removed back into their respective couplings and refasten.
12. Put the diaper back in. Put the column felt and action block back into place, if you can.
13. Reattach the pedal springs. (This step may be a giant pain for you. You’ve been warned.)
14. Reattach the base to the bottom of the harp. (And you thought step 13 was bad, ha!) The trick here is to start on one side and work your way across putting the pedals into the natural position as you go. Focus on getting the pedal bars in the slot and the base pins should line up easier. It’s one thing for the base pins to line up in their respective holes but a pedal bar in the way is a show stopper. (You may want to buy some of your harp technician’s time and have him or her practice this step with you if you have never done it before. Do this the next time you have your harp regulated.)
15. Tighten your base bolts. Snug is good, tight is expensive, as you can damage your harp.
16. Check for over-motion by comparing the over-motion in the pedals around the new pedal rod. If you replaced the C pedal, compare over-motion in the D and B pedals. Here’s how you check for over-motion in the C pedal:
• Move all the pedals to the natural position.
• Move the D pedal toward sharp about a half an inch and release back to natural doing this at a tempo of about 40-60 bpm. This is called fluttering the pedal.
• As you flutter the D pedal, note how much the sixth octave D disc moves.
• Do the same with the B pedal.
• Do the same with the one you replaced—the C pedal.
• If the C moves more, you need to screw the C rod coupling clockwise a turn or more. If it moves less, you need to screw the coupling counterclockwise a turn or more. Getting to the screw on your pedal rod may be a pain as you may have to take the base off of your harp again.
17. Stand your harp up and replace the column felt and action block if you couldn’t or didn’t before, being careful not to drop your action block or screw driver on your soundboard.
18. Put your C pedal into the natural position and play all the Cs, one at a time, mezzo forte. Put your C pedal in the sharp position and play all the Cs, one at a time, mezzo forte. If there is buzzing, particularly in the sharp position in the bass wires, I would be tempted to add one revolution clockwise to the pedal rod coupling if I were you. (You could reset the discs and increase grip, but you could be digging a hole that you will not like.)
Hope this helps you avoid the space-alien medical exam. •
San Francisco-based harp technician Mike Lewis started working at a harp factory in Chicago in 1989. In 1996 he started his own business, HarpTech. Contact him with suggestions of topics you’d like to see in Tech Talk at harptech@harptech.com.
http://youtu.be/0PufTBwUVKE